Your Homebridge, on the wall.
A calm touch panel for the Raspberry Pi. Lights, heating, blinds, sensors and alarms – one tap away, right where you need them.
- Runs locally, no cloud
- Open source
- Raspberry Pi 4 and 5
- Six languages
- Works with Homebridge 1.x and 2.x
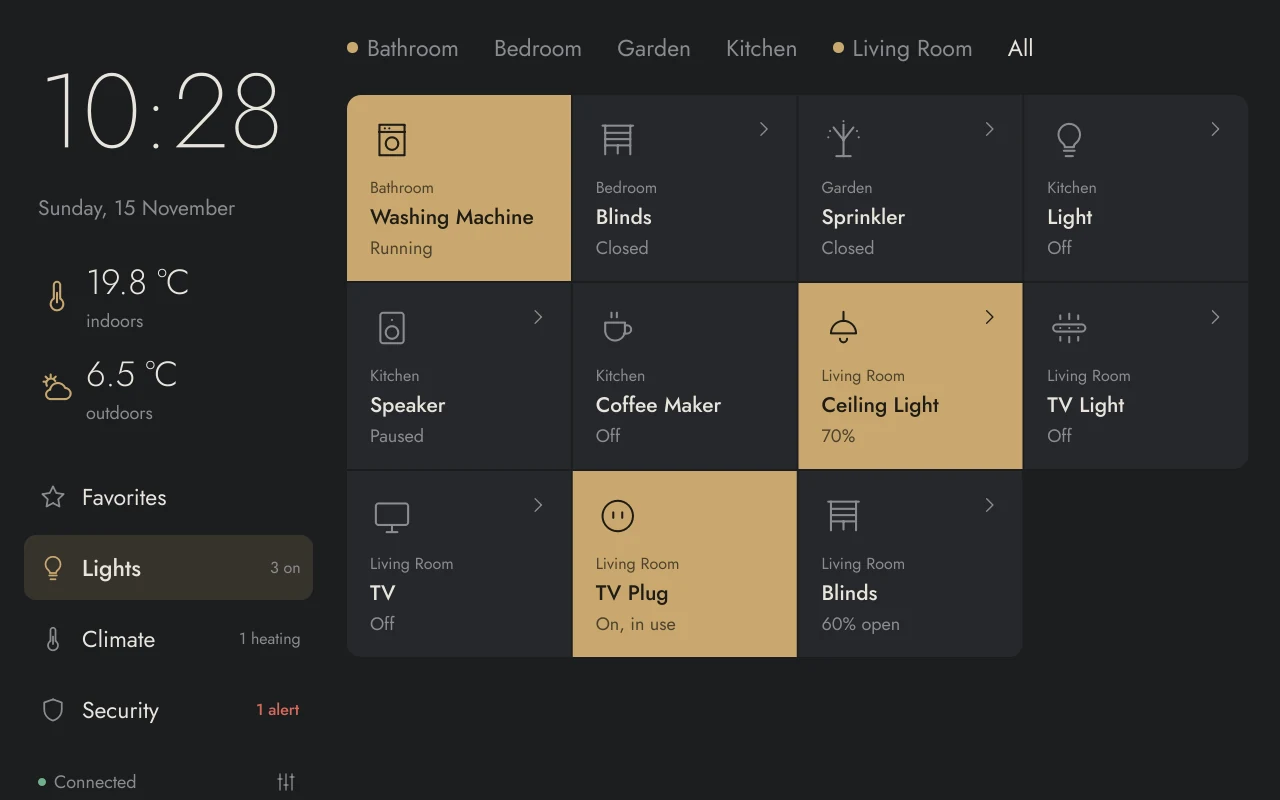
Every light, plug and blind at a glance. Tap a tile to switch it, tap the arrow for brightness and colour.
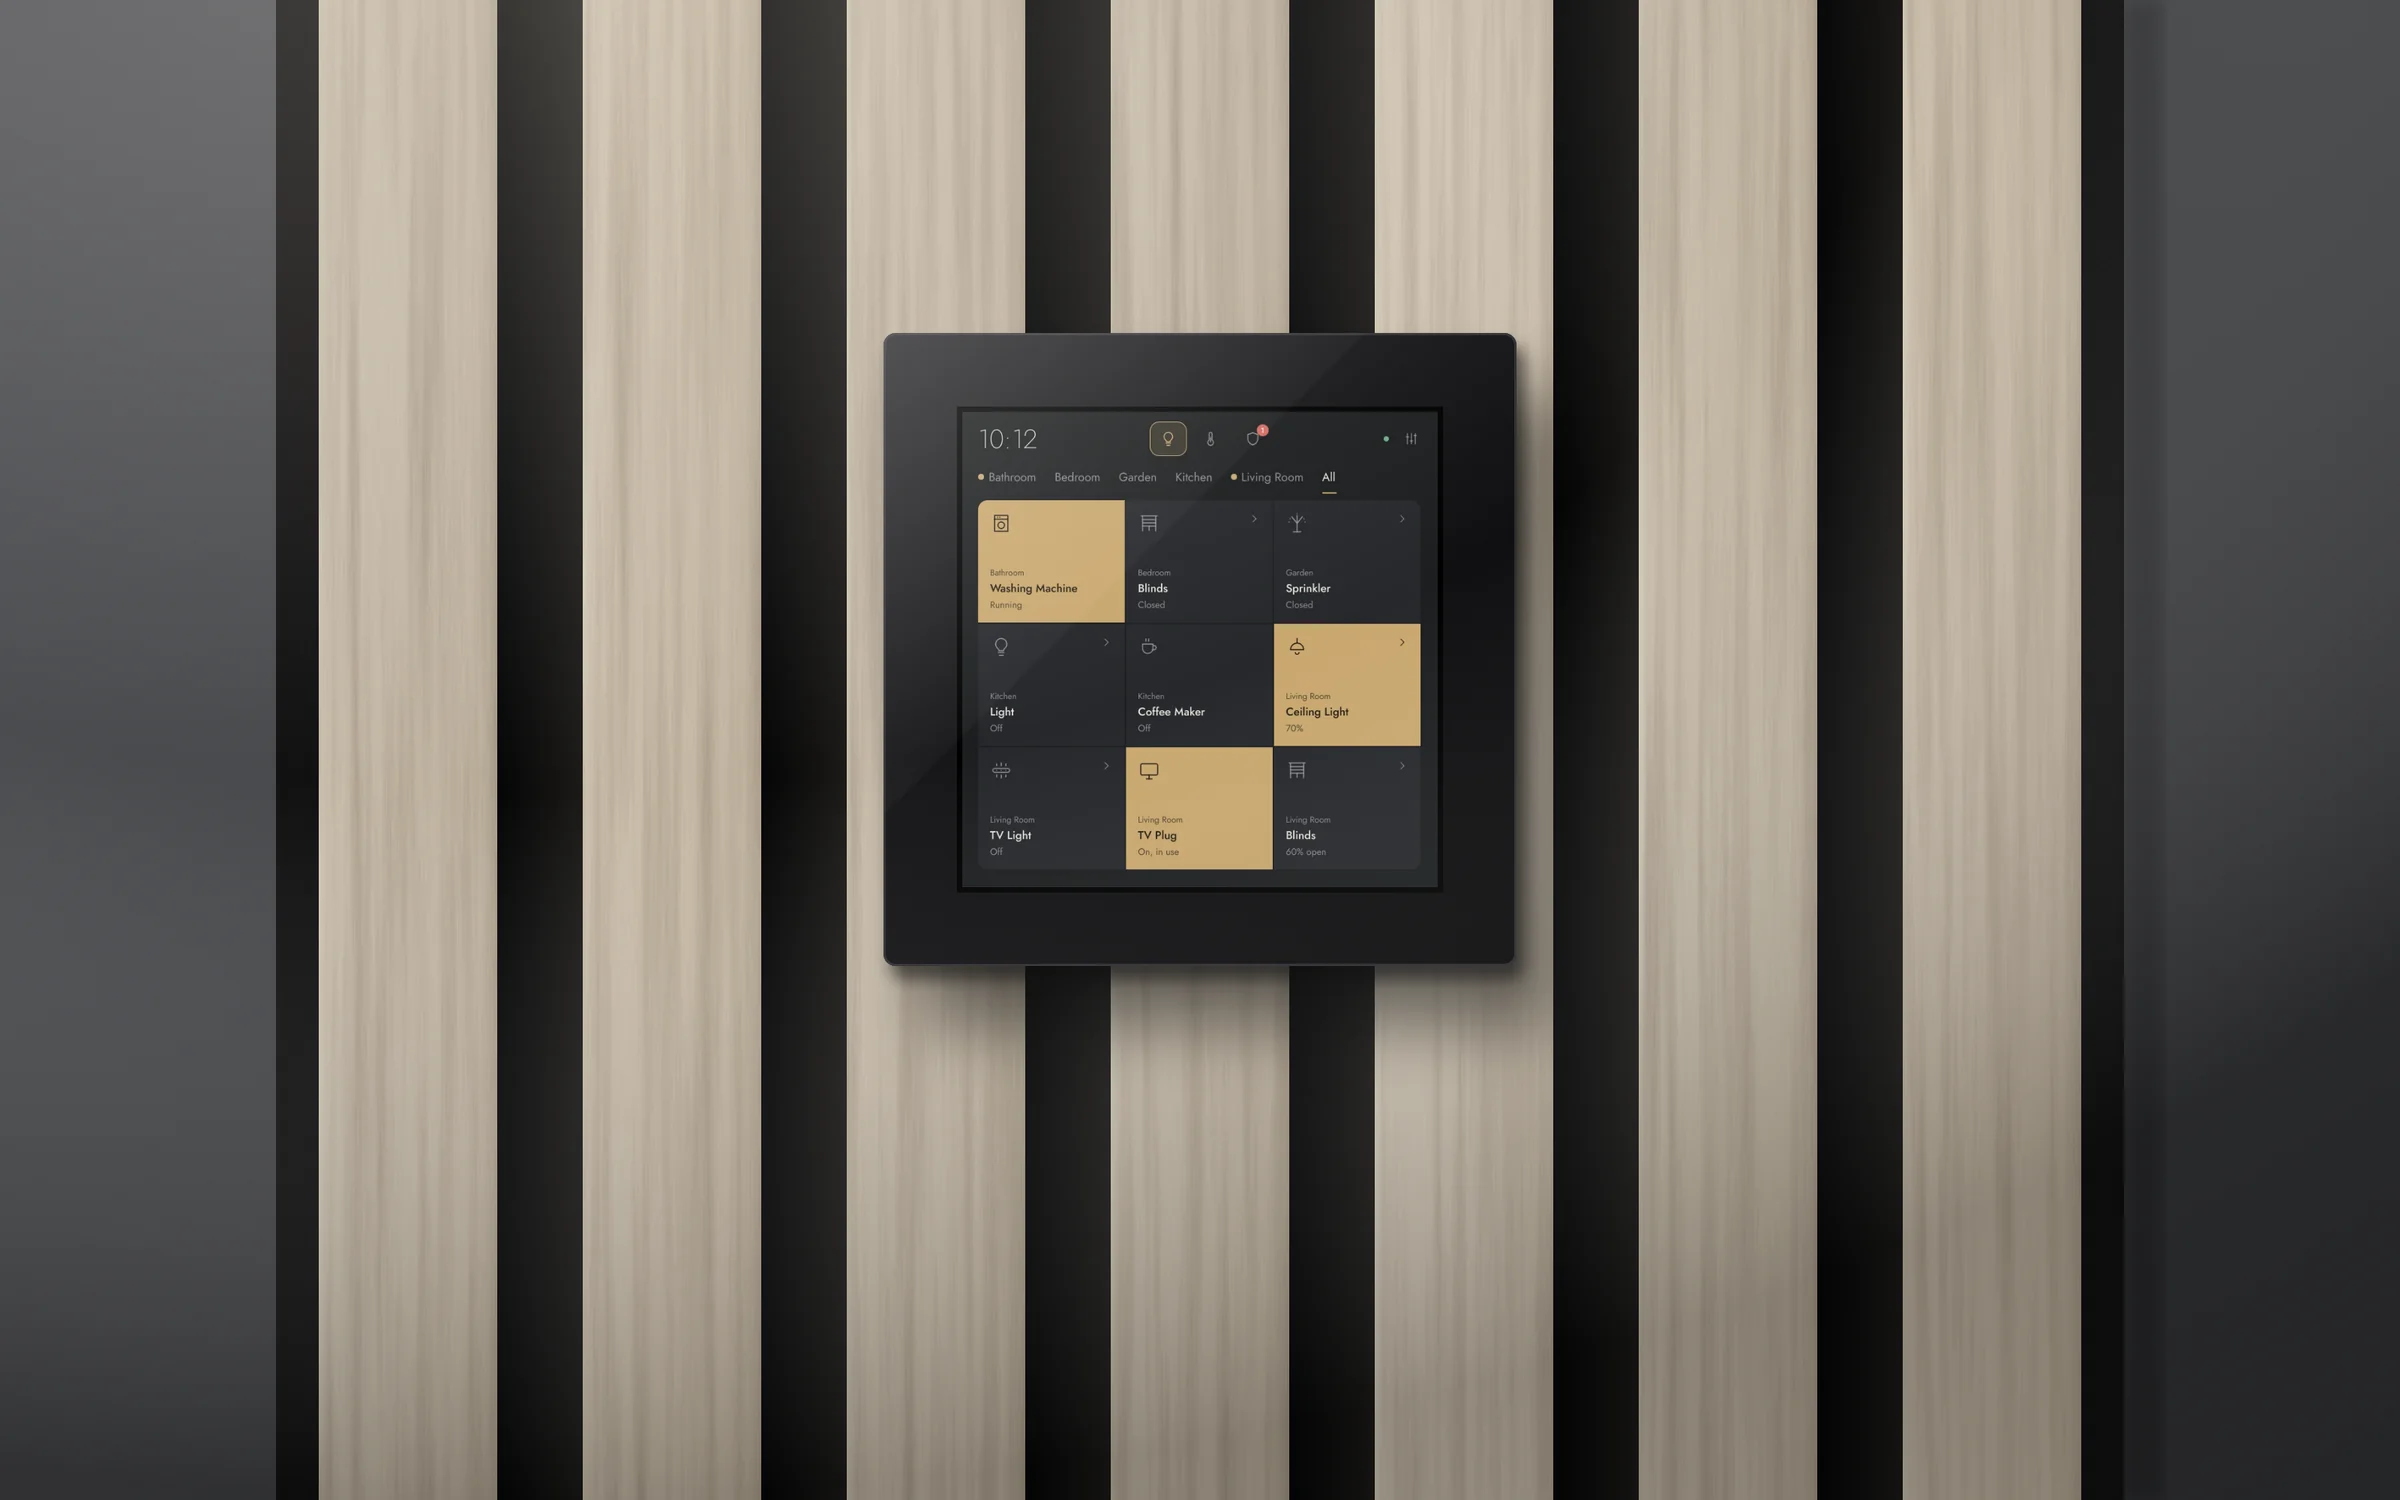
At home on the wall.
A Raspberry Pi behind a HyperPixel 4.0 Square: four inches, 720 × 720 pixels, small enough to sit on a single acoustic slat. The square layout keeps every room one tap away.
Illustration, drawn to scale.Made for a fingertip, not a mouse.
Big targets, clear states, no menus to dig through. Every accessory gets a control that feels like the real thing.
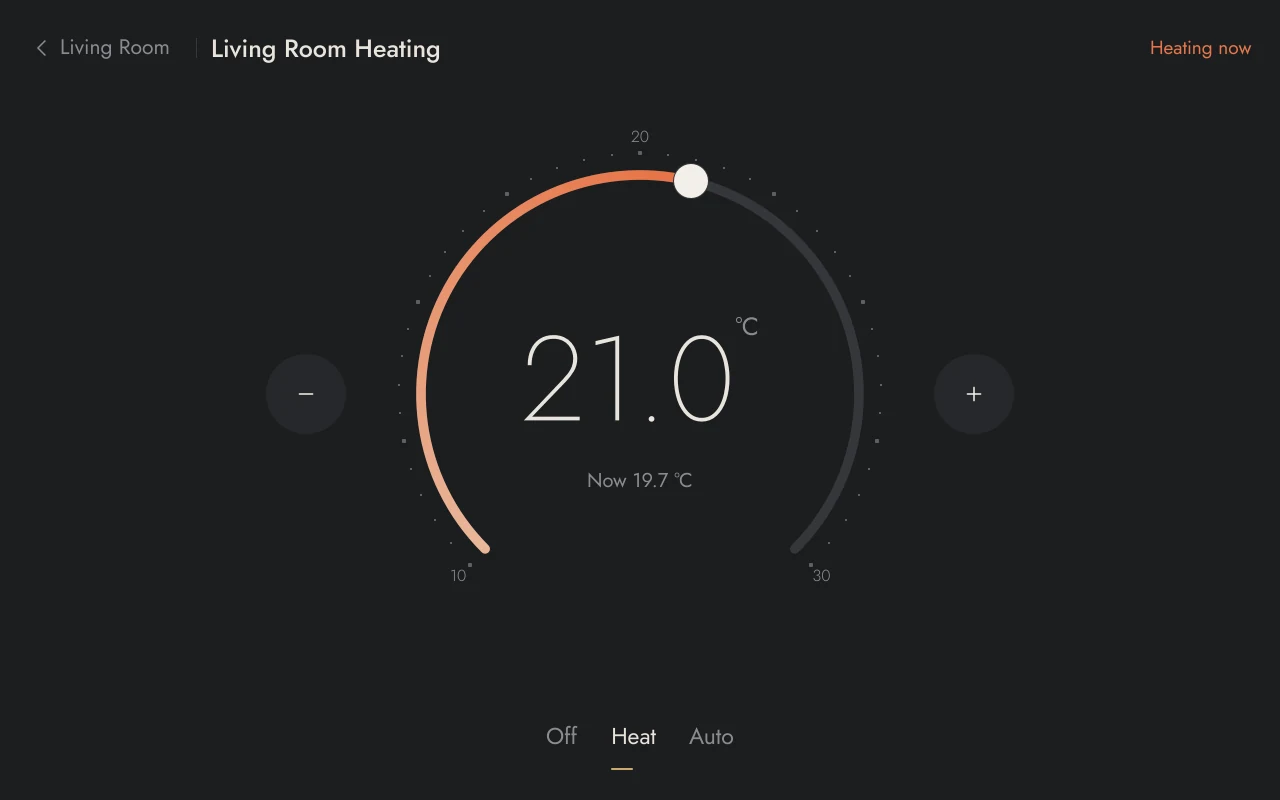
Heating with a dial
Drag the ring or tap − and +. Off, Heat and Auto are one tap apart, and the panel tells you when the room is heating.
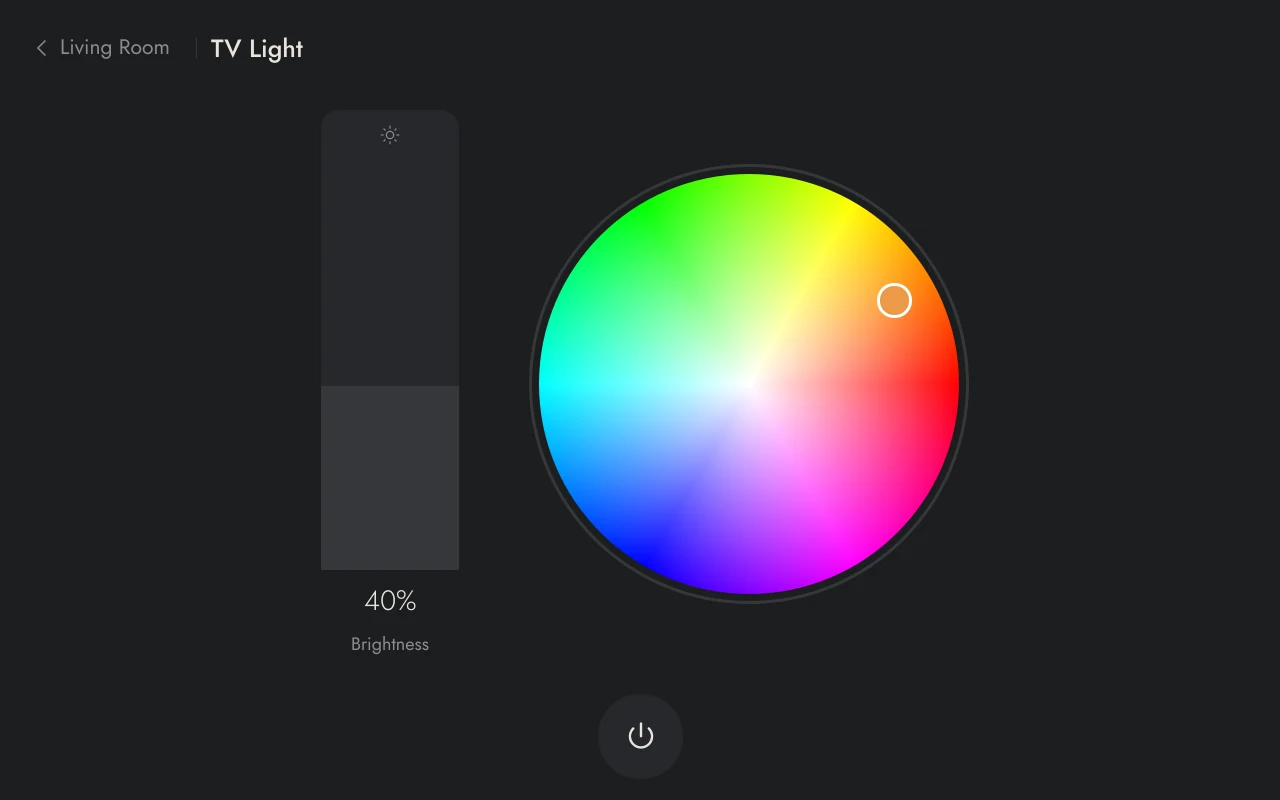
Light and colour
Brightness bar, colour wheel and white tone. Group several lamps into one tile.
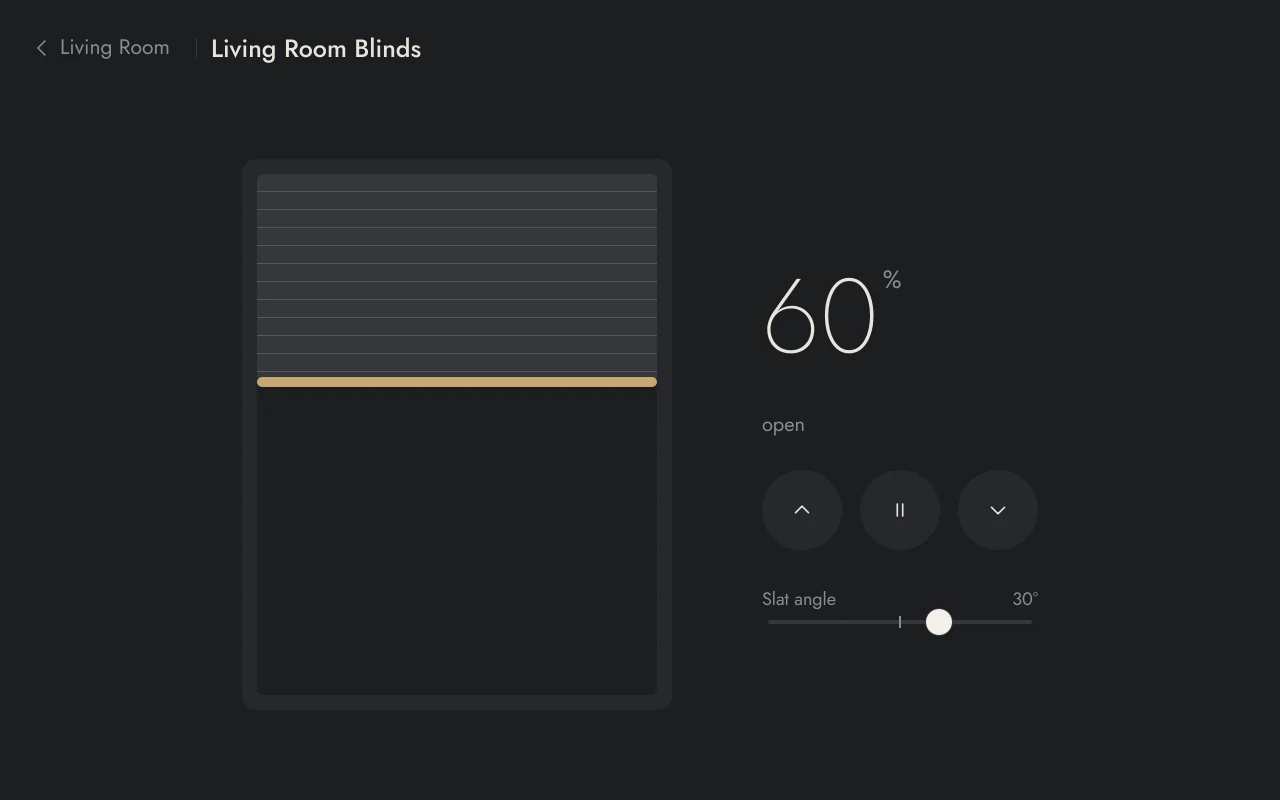
Blinds you can drag
Open, stop, close or drag to a position. Slat angle included, live while they move.
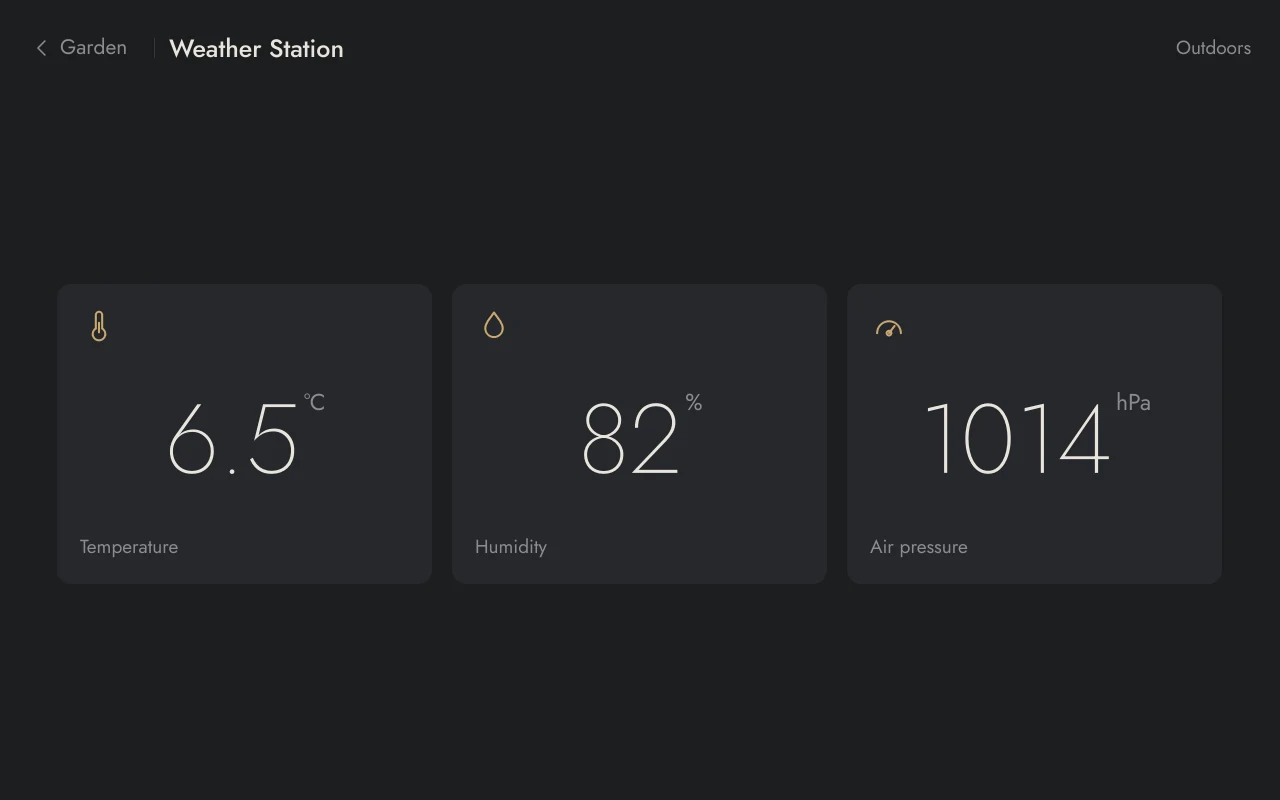
Air and climate sensors
Temperature, humidity, pressure, light, CO₂, fine dust and VOC. Bad air shows up in red, and Eve history becomes a temperature chart.
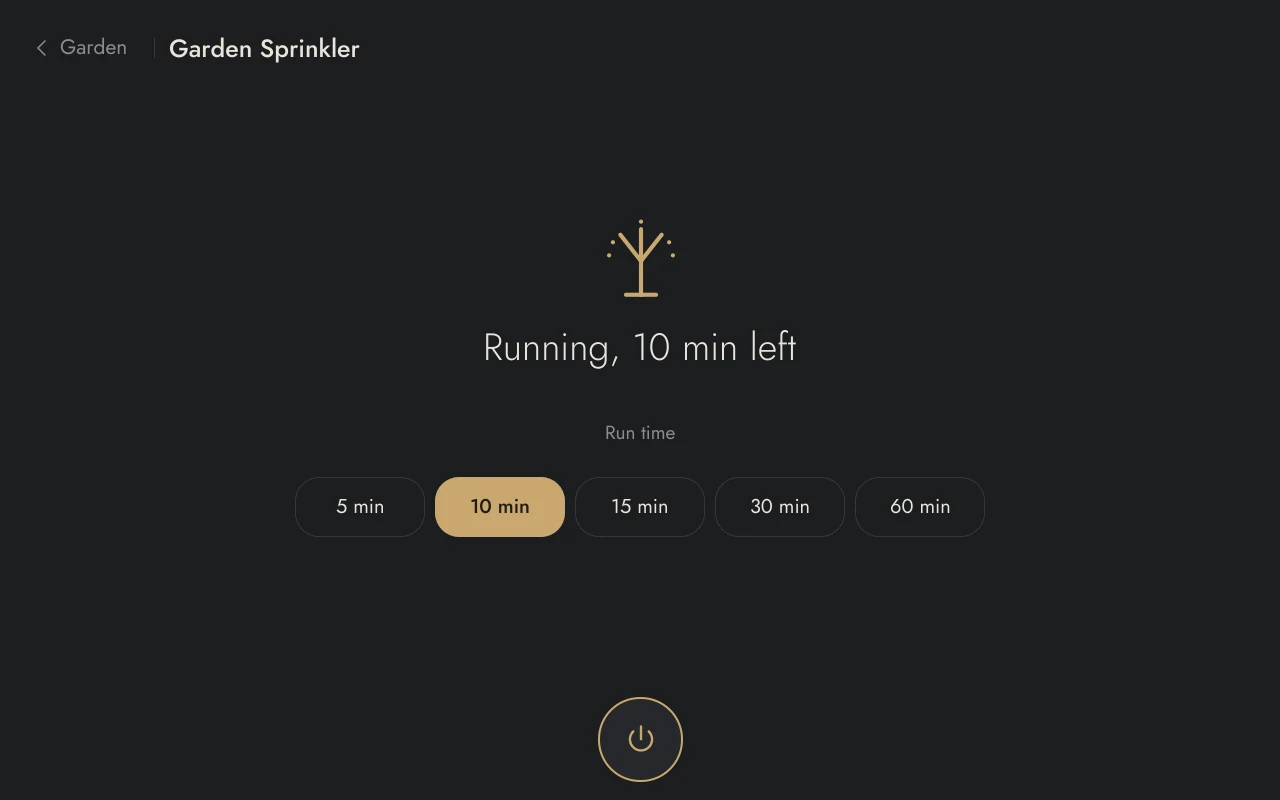
Water on a timer
Sprinklers and valves with a run time and the minutes left. Switch groups run one irrigation circuit at a time.
Bright by day. Dim by night.
In automatic mode the panel turns dark at 7 pm and light again at 7 am, so it never glares across a dark hallway. Drag to compare.
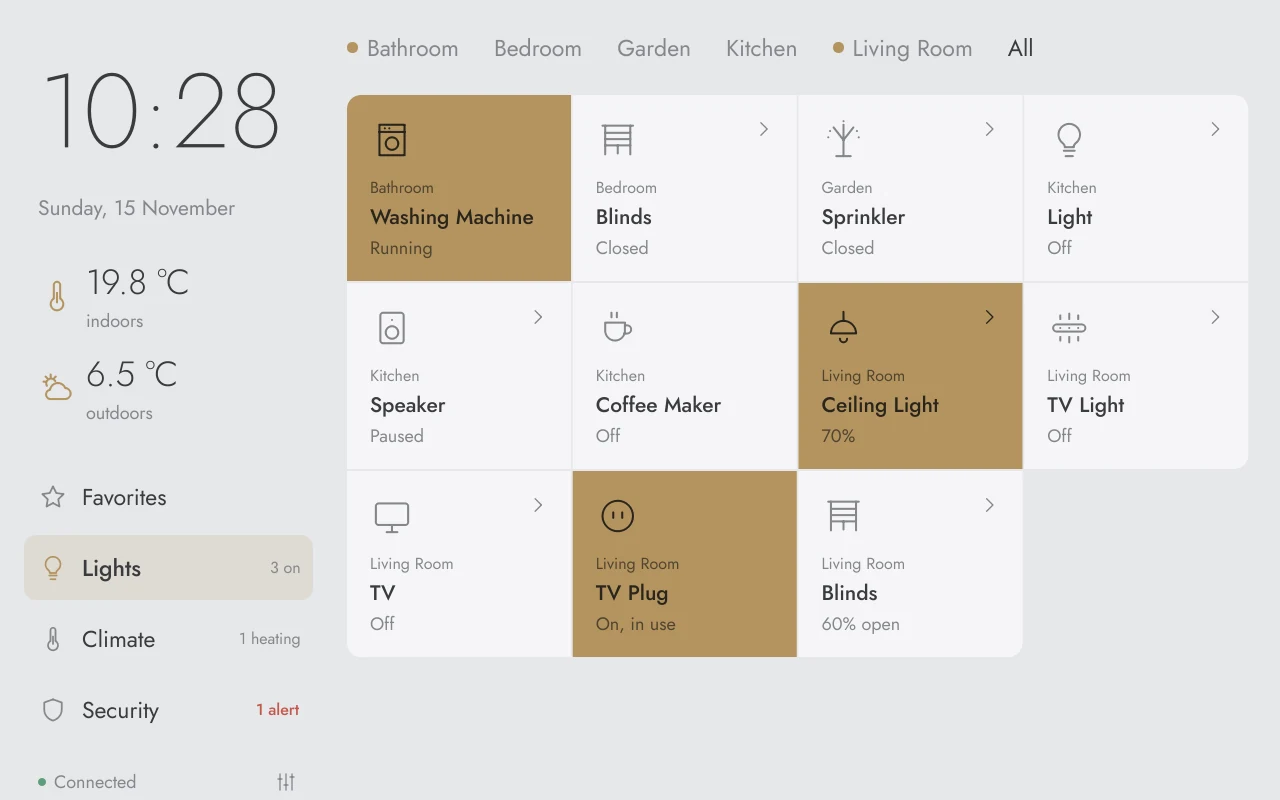
Screen saver with a clock
After one to fifteen minutes the panel fades to a large clock with indoor and outdoor temperature.
Rooms and favorites on the panel
Add, rename and reorder rooms, move devices and pick the favorites for the start page right on the touchscreen.
Light, dark or dark blue
Pick the look that suits the room, or let the panel switch between day and night on its own.
Keeps an eye on your home.
Arm your HomeKit alarm system, see every open window at a glance and get told right away when a detector goes off – on the screen you pass every day.
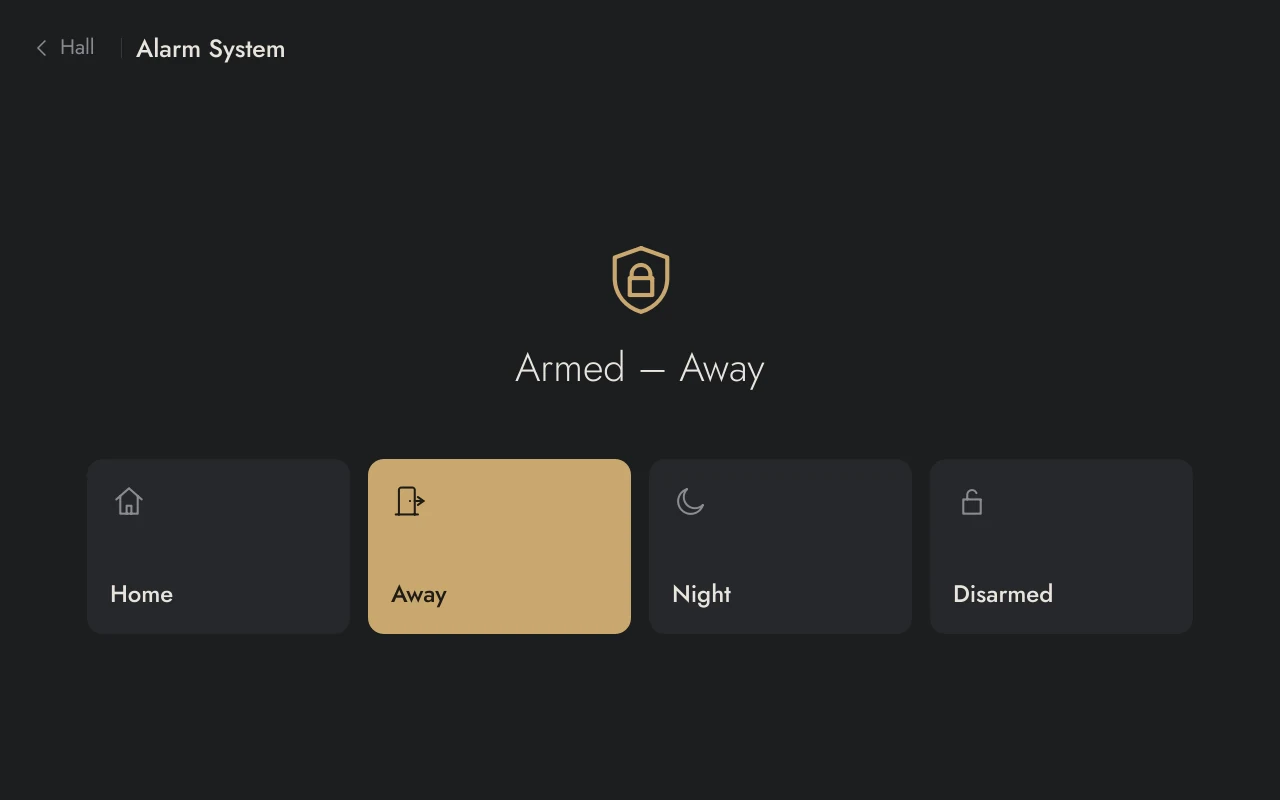
Alarm system with modes
Home, Away and Night with one tap. Disarming can be protected with a PIN.
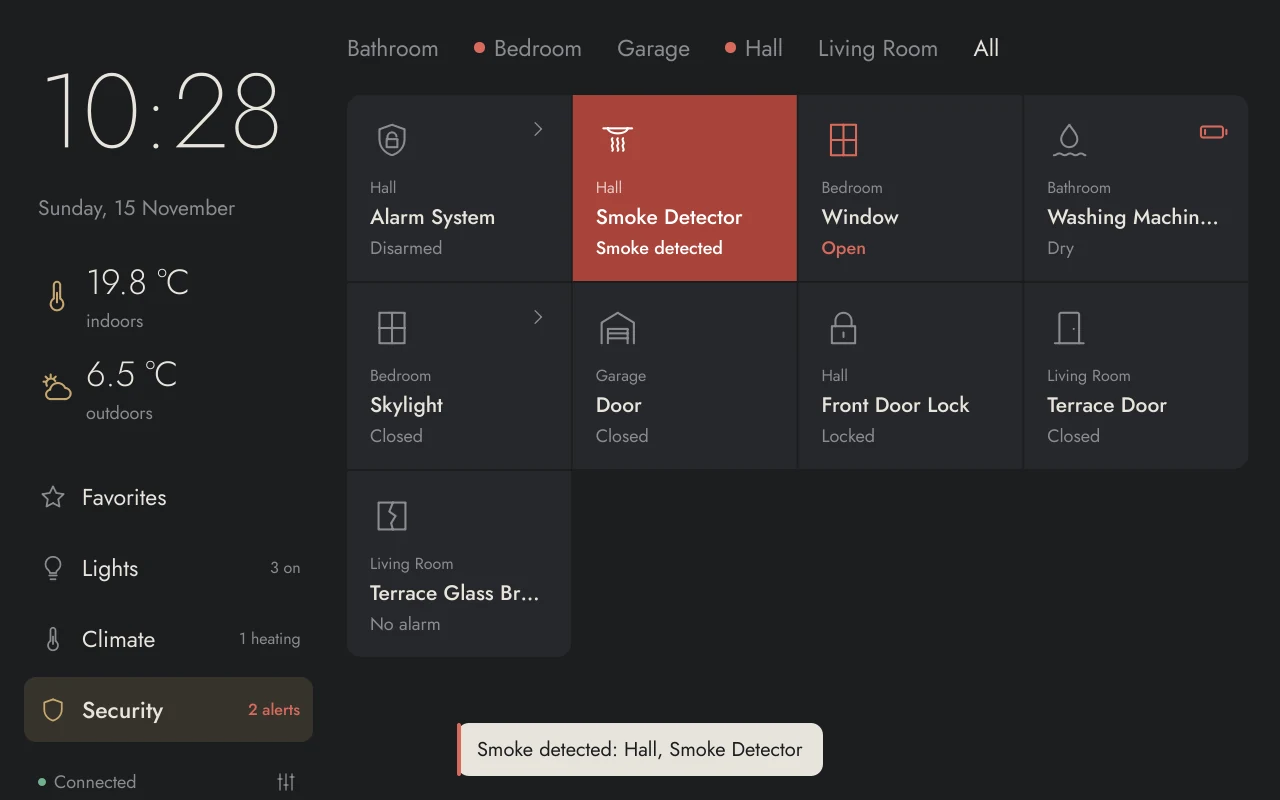
Alarms wake the panel
Smoke, CO, water or broken glass light up in red with a message.
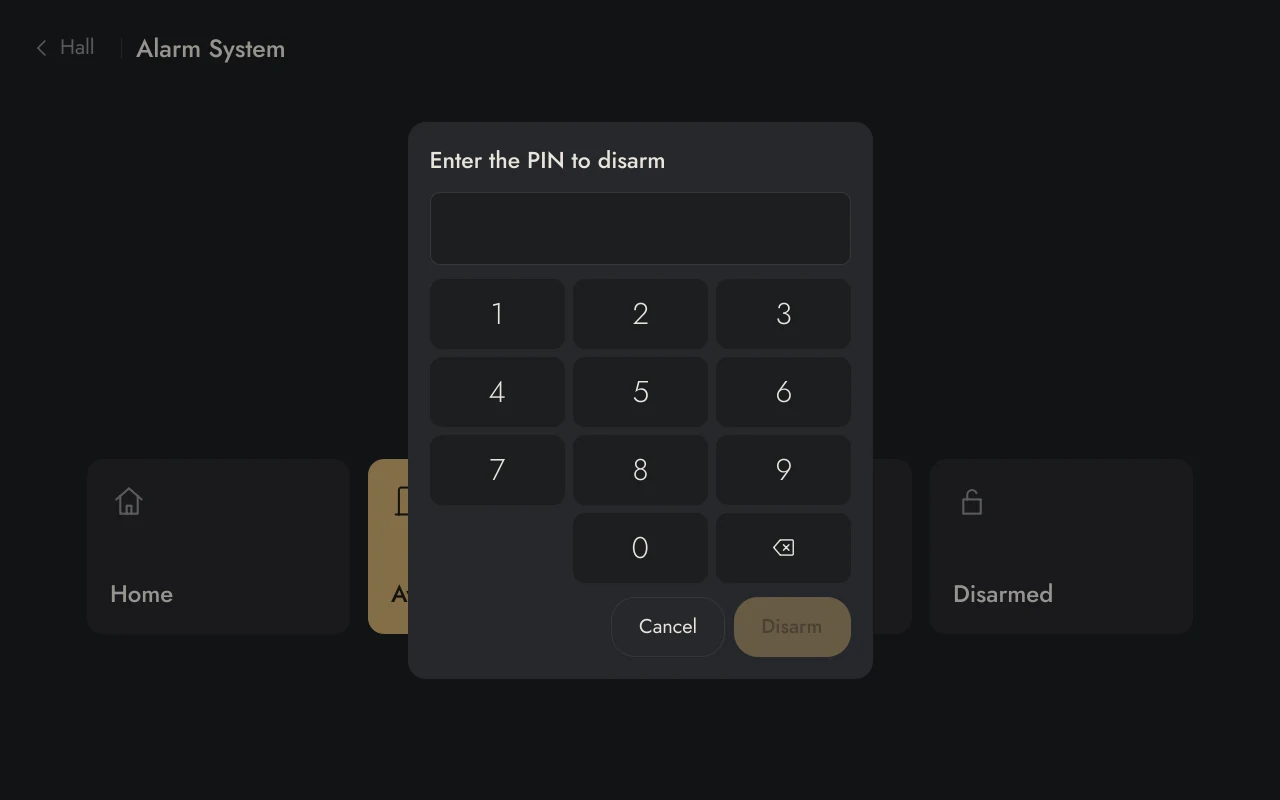
PIN where it matters
With a PIN set, disarming the alarm and opening the garage door ask for it.
Open windows first
Windows, doors and alerts always lead the list. A dot marks every room with a warning.
Motion only when armed
Motion sensors count only while the alarm is on. Single sensors can be kept out of the alerts.
Garage door with a check
See if it's open, and open or close it after a confirmation.
Batteries under watch
A red battery shows up before a detector goes quiet. All batteries are listed in the settings.
The panel shows and controls the sensors and alarm system you already have in HomeKit. It doesn't replace a certified alarm system or smoke alarm.
Works with what you already have.
If a Homebridge plugin brings it into HomeKit as one of these types, it shows up on the panel – whatever the brand.
Lights and light groups
On/off, brightness, colour, white tone
Plugs and switches
On/off, “in use”, switch groups that run one at a time
Televisions
On/off, input sources, volume, remote keys
Speakers
Volume, mute, play, pause and stop
Thermostats and heater-coolers
Dial for the target temperature, Off, Heat and Auto
Fans
On/off and speed
Air purifiers
On/off, automatic or manual, speed
Humidifiers and dehumidifiers
Mode, target humidity, water level
Blinds and shutters
Position by dragging, stop, slat angle
Motorized windows and doors
Position, open, stop, close; open ones as an alert
Garage doors
State, open and close after a confirmation
Door locks
Lock, unlock with a PIN, unlocked as an alert
Valves and irrigation
Open/close, run time, minutes left
Climate and air sensors
Temperature, humidity, air pressure, light, air quality, CO₂, fine dust, VOC
Security sensors
Window, door, glass break, leak, motion, presence, smoke, CO
Alarm system
Arm Home, Away or Night, disarm optionally with a PIN
MQTT values
Any topic as a tile, e.g. boiler pressure in bar
Batteries
Low battery on the tile, full list in the settings
Not supported yet: cameras, doorbells and buttons.
Native HomeKit devices without Homebridge need a plugin first.
One app, every screen.
From the classic Raspberry Pi Touch Display to 10.1″ panels and square wall screens. The layout adapts – sidebar, top bar or portrait.
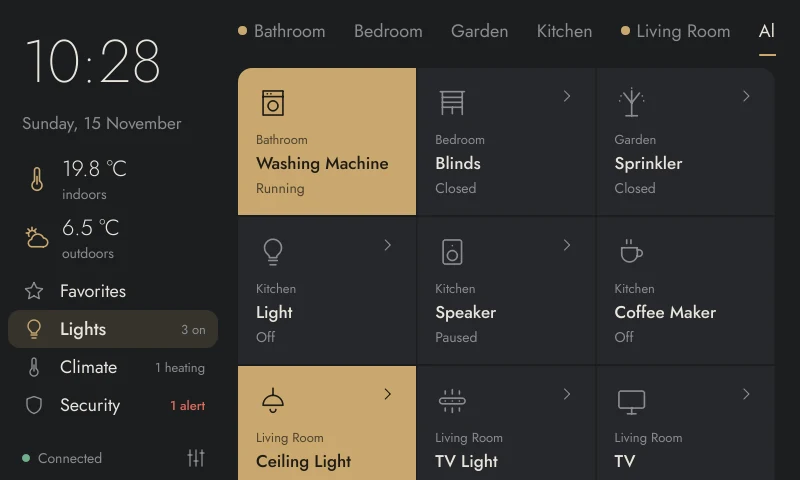
800 × 480Raspberry Pi Touch Display
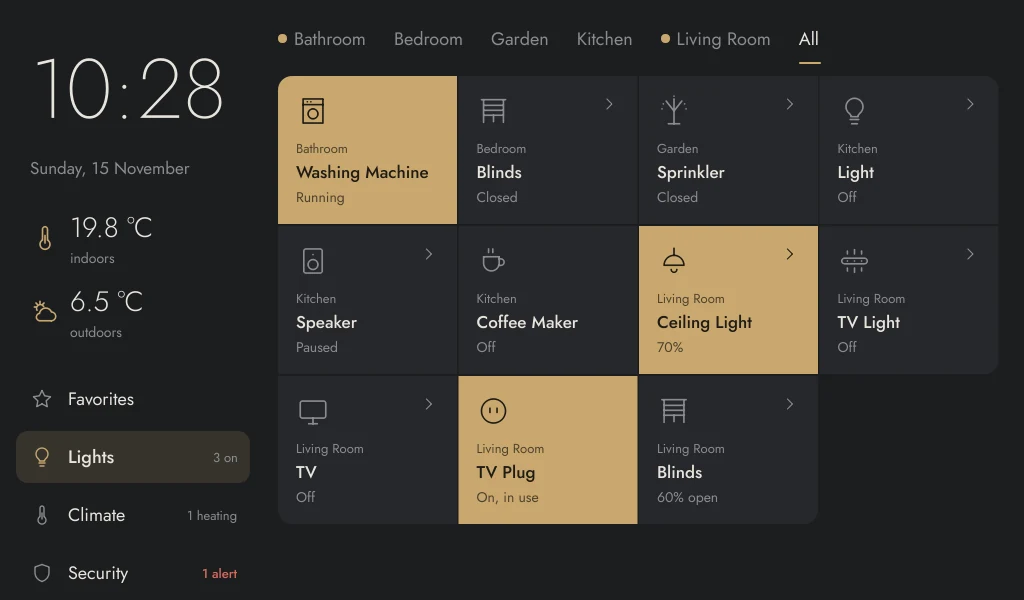
1024 × 6007″ HDMI displays
1280 × 80010.1″ panels – recommended
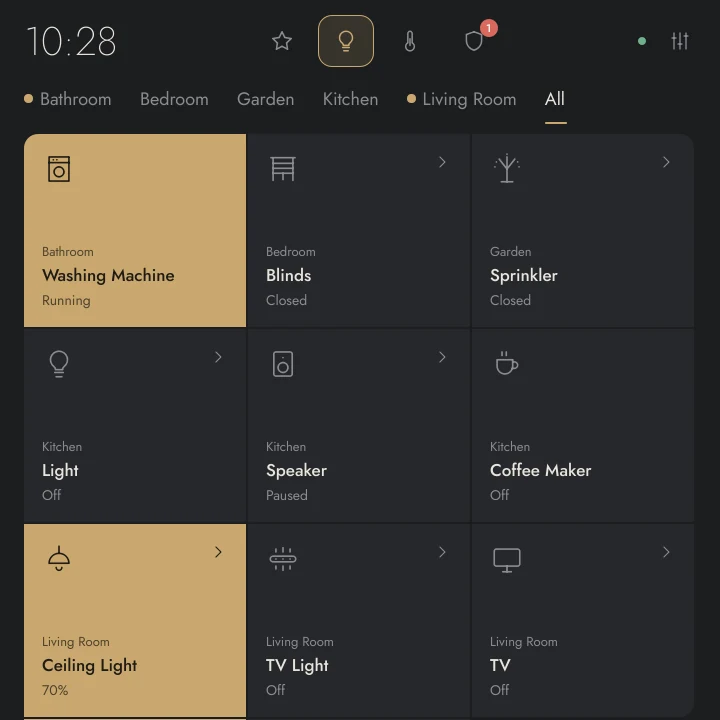
720 × 720Square, e.g. HyperPixel 4.0 – recommended
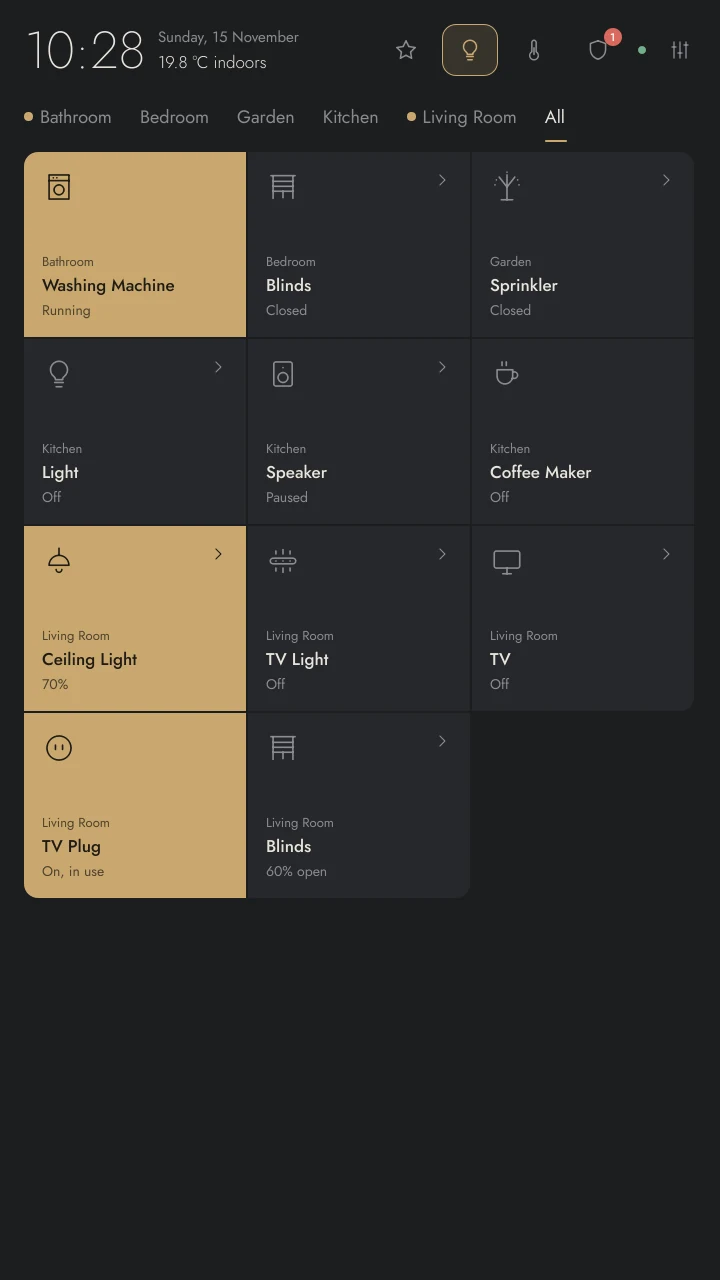
720 × 1280Portrait
Drawn to pixel scale. 1280 × 720 (Touch Display 2) works as well.
Speaks your language.
English, German, French, Italian, Spanish and Portuguese – switch in the settings and the whole panel follows, dates included.
Talks straight to Homebridge.
The panel speaks the HomeKit Accessory Protocol with your Homebridge over the home network. No account, no cloud, no extra server.
Your accessories
Lamps, plugs, thermostats, blinds and sensors – any brand Homebridge has a plugin for.
Homebridge
Bridges them into HomeKit. The panel connects with address, port and PIN.
Homebridge Panel
On a Raspberry Pi with a touchscreen. Optional MQTT topics appear as tiles, too.
- 0cloud services or accounts needed
- ≤ 5 suntil changes from the Home app appear on the panel
- 6screen layouts, landscape, square and portrait
- 6languages, switchable without a restart
Up and running in minutes.
One script installs everything and starts the panel in full screen after login.
Prepare Homebridge
In the Homebridge UI open Settings, turn on “Homebridge Insecure Mode” and restart Homebridge. Port and PIN are in config.json under “bridge”.
Install on the Pi
Clone the repository and run the installer. Use --eglfs instead for Pi OS Lite without a desktop.
# on the Raspberry Pi git clone https://github.com/marcjohnce/homebridge-panel ~/homebridge-panel cd ~/homebridge-panel ./deploy/install.sh --autostartConnect
Tap the settings icon, enter address, port and PIN, tap “Test connection” and then “Apply”. No restart needed.
Questions, answered.
Why does Homebridge need insecure mode?
The panel reads and controls accessories through Homebridge's HAP interface, which requires insecure mode. Keep in mind that anyone on your home network who knows the PIN can then reach Homebridge – use it on a network you trust.
Can I use HomeKit devices without Homebridge?
Not directly. Native HomeKit devices such as Eve need encrypted pairing, which the panel doesn't include. Add them to Homebridge with a plugin and they show up on the panel.
What if I change something in the Home app?
The panel picks it up within five seconds. Your own taps on the panel take effect immediately.
Can I try it without hardware?
Yes. Start it with python -m app --demo on any Linux machine to get simulated devices in a window.
Does it run on older Raspberry Pis?
A Pi 3 works. On very old models without OpenGL ES 3, set QT_QUICK_BACKEND=software before starting.
Like the panel? Support it.
Homebridge Panel is free and was developed with Claude Code. If it’s useful to you, you can support it on Ko-fi. Contributions help pay for the development tools and for test hardware such as displays and sensors.
Support on Ko-fiThank you!
Lights out. From the wall.
Free and open source under the Apache 2.0 license. Built with Qt Quick and Python, developed with Claude Code.